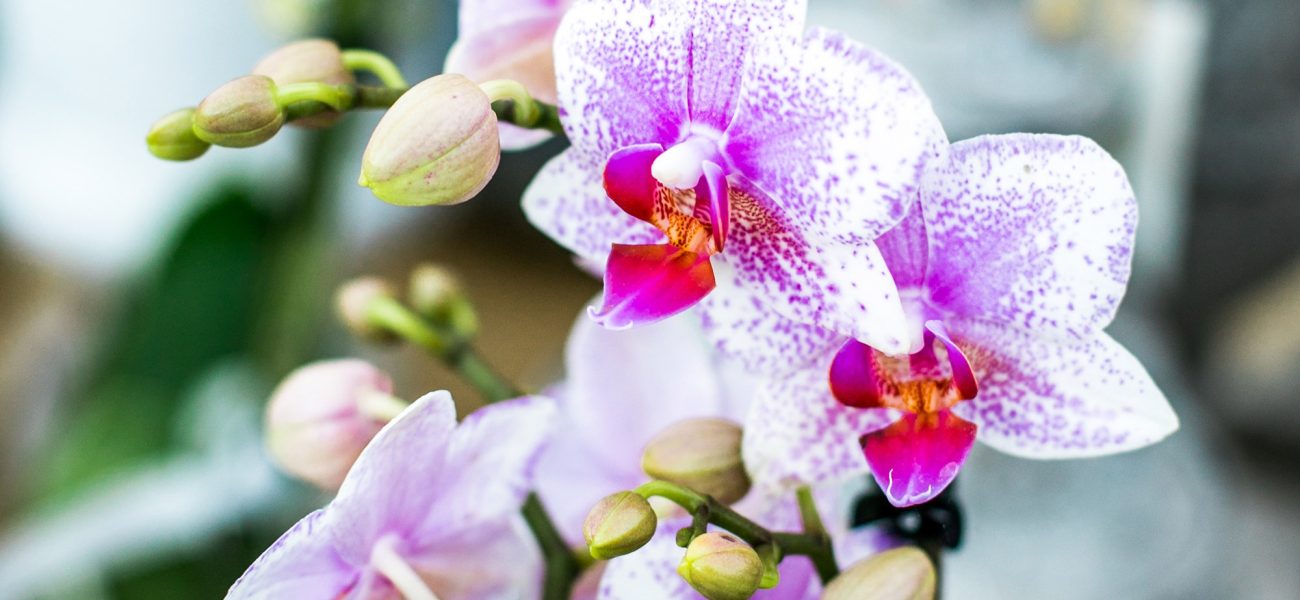
A Guide to Orchids
Orchids have a reputation for being difficult, but they can be easy to care for if you follow one or two simple rules.
Firstly, your orchid should always be away from cold draughts, direct light and radiators. Also, keep them away from bananas! Bananas release ethylene gas when ripening, which makes the flowers wilt.
Phalaenopsis can tolerate low light; a north- or east-facing window would be fine. It’s really simple to determine the watering needs of Phalaenopsis orchids. These orchids are grown in clear pots so you’ll be able to see how wet the roots are.
Green roots are sufficiently damp, and you’ll know that your plant requires watering when they begin to turn silvery-white. Use tepid water and allow the water to drain completely before you put the orchid back into its decorative pot. Every other time you water the plant, add some orchid food.
Once the flowers on your orchid have faded, you’ll have two options. The first is to cut the flower spike back to 3mm above the next node down. This will encourage the development of a new flower spike from the node; however, the flowers may be smaller. The second option is to remove the flower spike completely, cutting it a few centimetres from the base of the flower spike. It’ll take longer to produce more flowers, but the new flower spike will be a nicer shape. Don’t forget to stake when the spike is approximately 30cm tall.
If your orchid hasn’t re-bloomed, it might not be getting enough light – so try moving it to a brighter position. Often, if you provide a greater difference between daytime and night-time temperatures you’ll trigger a new flower spike to develop. Orchids like to be fairly tight in their pots. However, if your orchid is climbing out of its pot or if the bark has broken down it is time to re-pot your orchid. An ideal time to do this would be when the orchid has finished flowering and when the roots are actively growing (growing roots have a green tip).
Re-potting is done by removing the orchid from its pot and carefully removing the old bark from the roots. Sterile secateurs or scissors should be used to remove old or damaged roots (healthy roots are firm and white or green) and healthy roots can be shortened to a minimum of 10cm. The plant can be re-potted into the same pot or a slightly larger one if necessary, using specialist orchid bark. Hold the plant in a central position at the correct level and fill the pot with bark, firmly but carefully pressing bark around the roots to anchor the plant in the pot. Spray the surface of the compost with water regularly to encourage the growth of new roots, but avoid watering until a week after re-potting to prevent fungal problems.
Now you’ve learnt how to take care of your orchid, you might find it handy to learn about best practices for houseplant care.